The beast from the east is coming and you better be prepared, by making your own homemade sled! Just follow these six simple steps.
If you are a city slicker you’ll probably have queued up in one of the many outdoor shops dotted around the country to get your beautiful new toboggan but if you are a country dweller that may not be an option. Having trawled through your shed for your childhood sledge and came up empty-handed, then there’s nothing left to do but build your own! Now we’re a fan of taking fins off of a surfboard, using a bodyboard or go really old school and stuffing an empty coal sack with straw, but here we tried something a little more sophisticated and it worked a charm. Just follow these six simple steps to build your homemade sleigh!
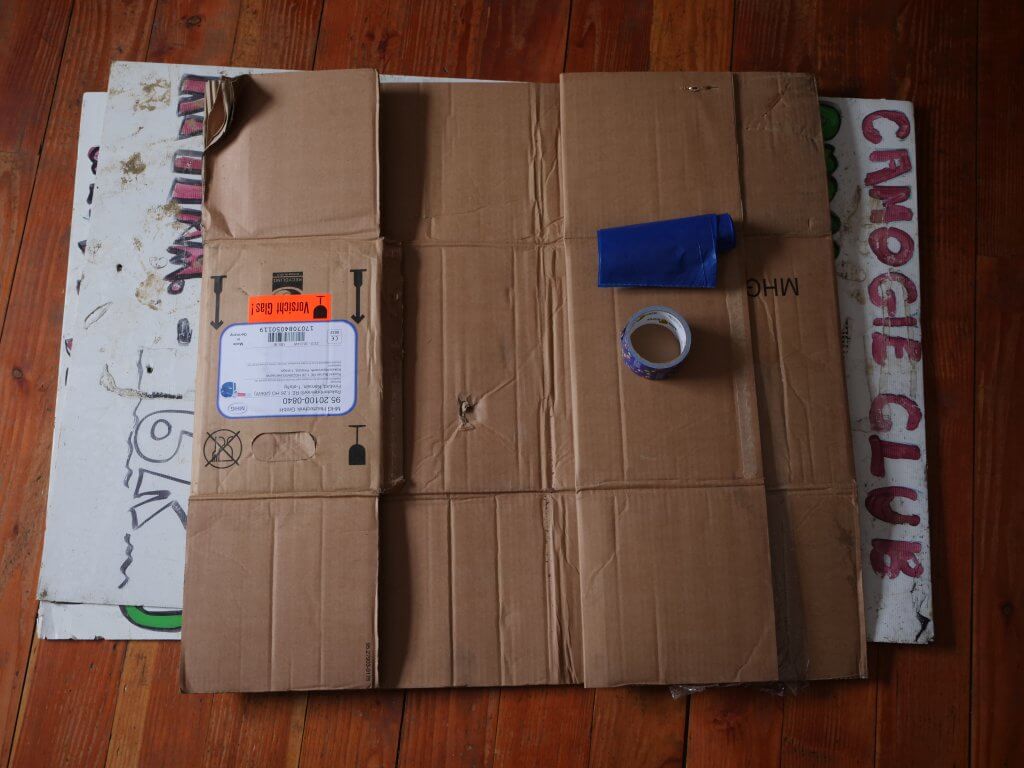
1. Gather your materials
- 2x garbage bags
- 1 thick box/plastic boards (we found old election posters in the shed)
- duct tape
- rope/bungee cord
- scissors
- Stanley knife
2. Open the box
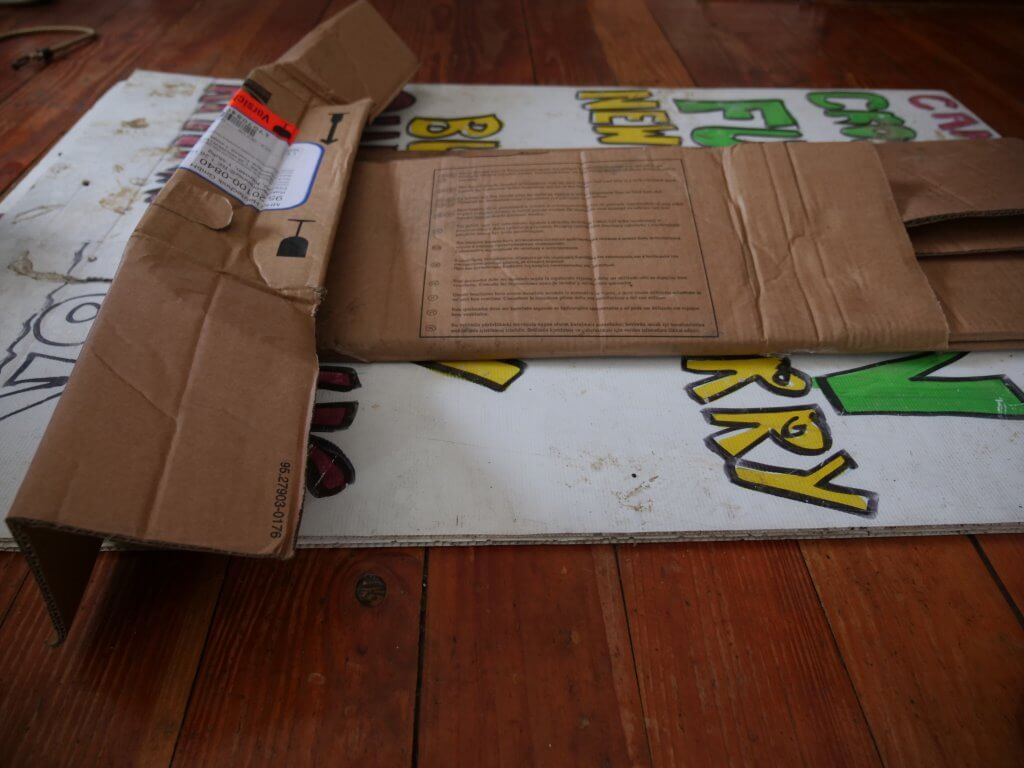
Cut open the box on one side. It depends on the shape of the box you find, but try and fold it in such a way that it provides a bit of padding, will fit inside the bag and have a wing at the front to fold upwards. Use the Stanly knife to aid this process! (We basically just winged it and we advise you do the same!)
3. Go duct tape crazy
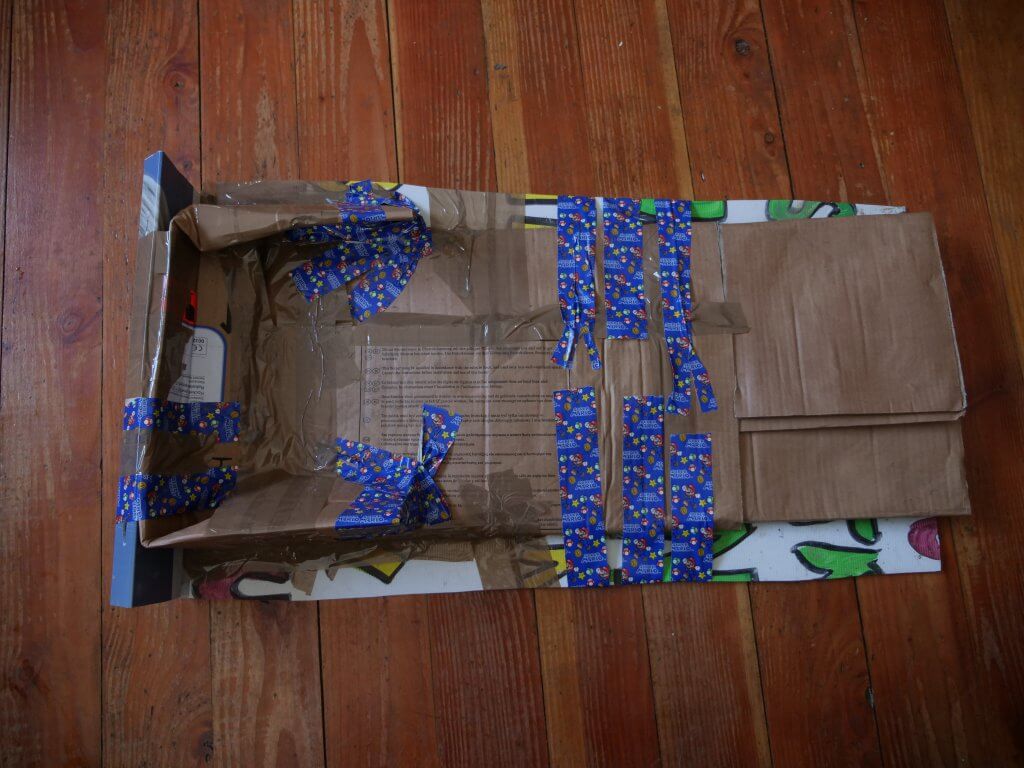
Use duct tape to attach the plastic bottom to the cardboard and to create some sort of front lip to the sled.
9 Awesome Activities For Snowy Days in Ireland
4. Bag it to make it waterproof
Put your creation into two large garbage bags (opposite directions) and seal with more duct tape.
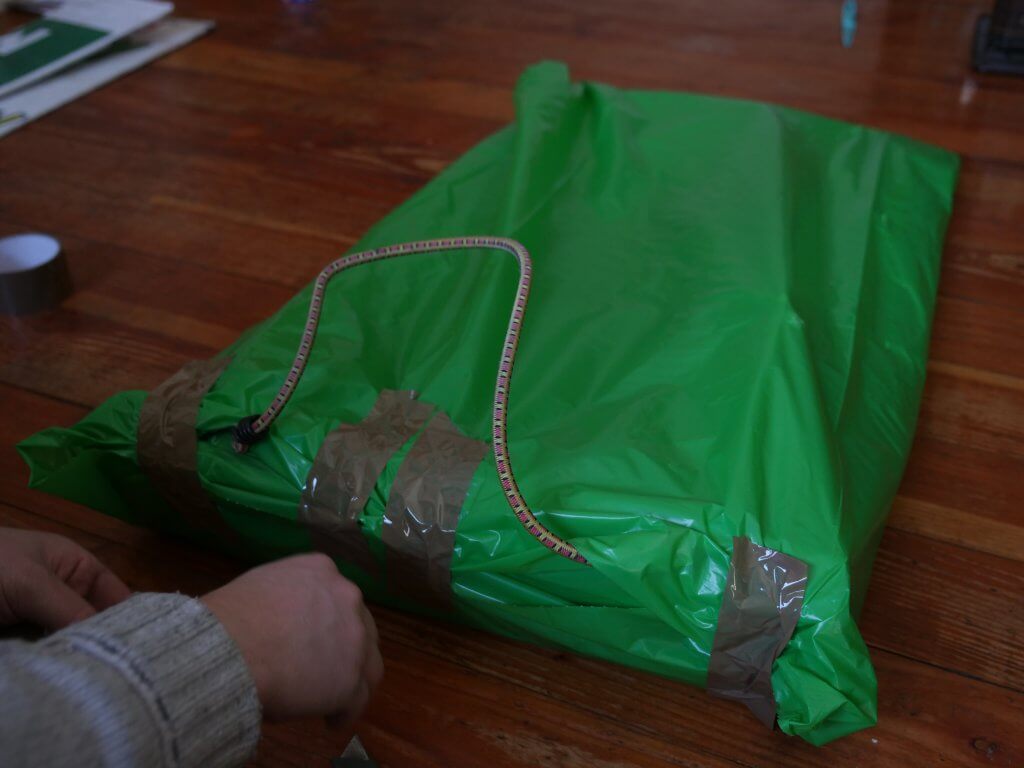
5. Attach a bungee cord
Cut two holes in the front to attach a bungee cord to make a strap to hold onto while sledging and to carry home afterwards.
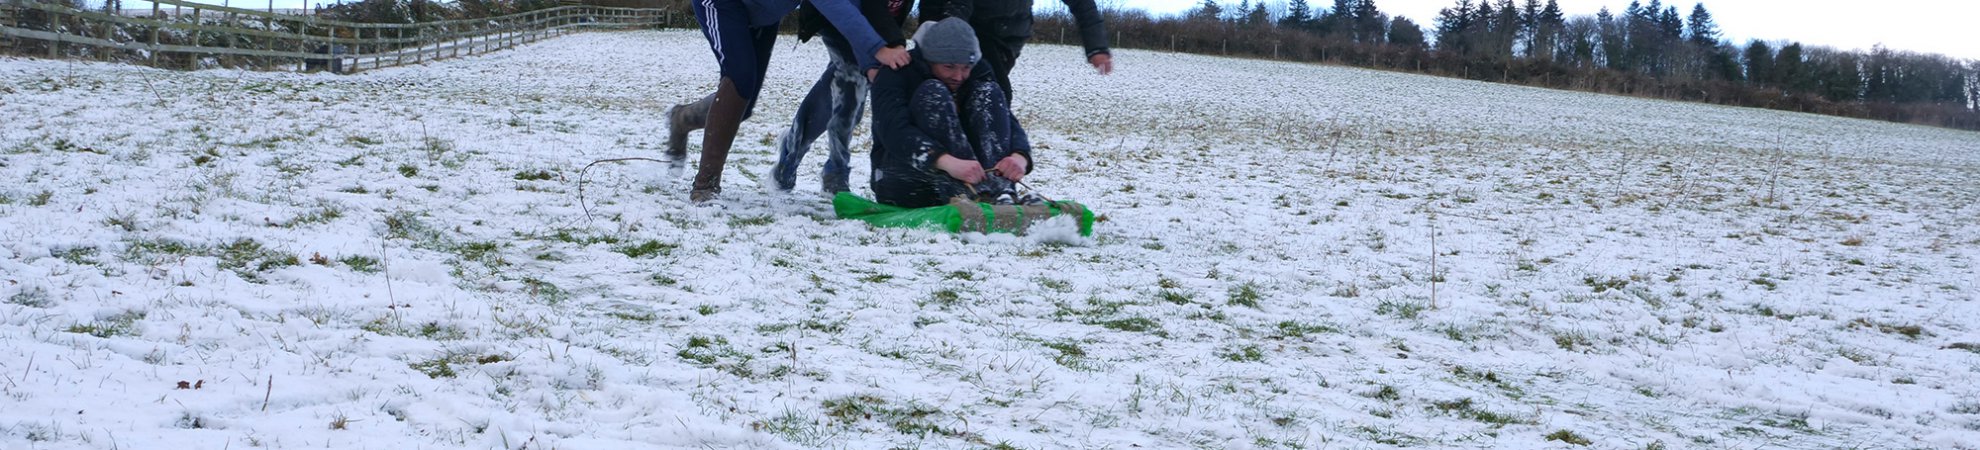
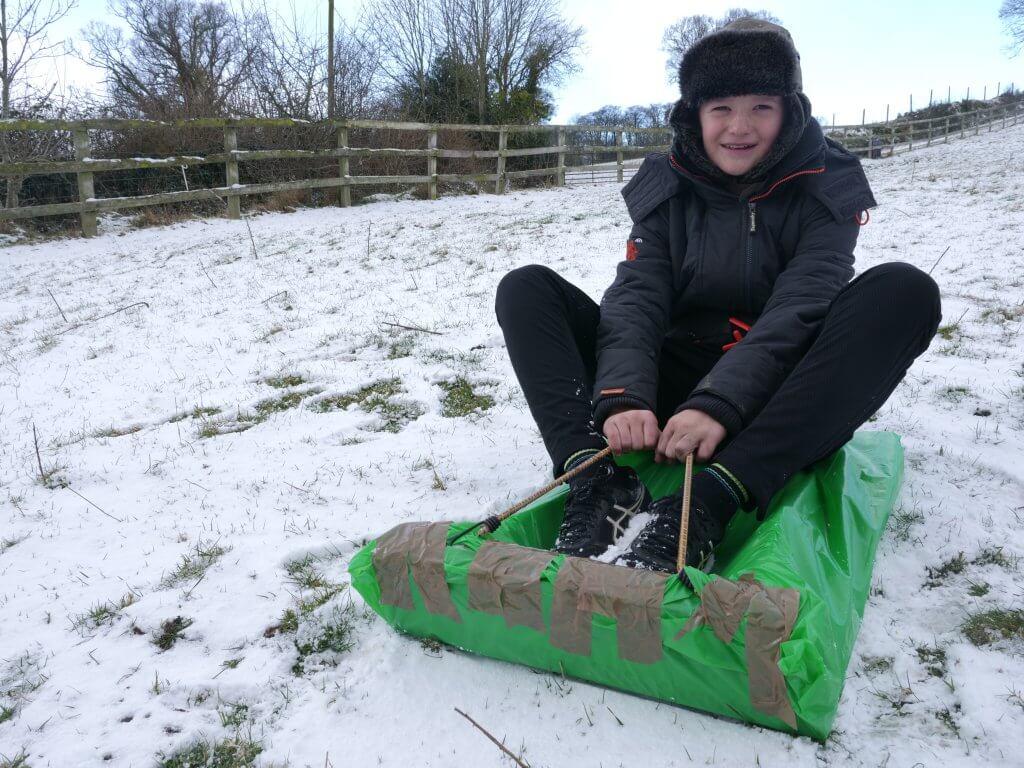
6. Sled Away!
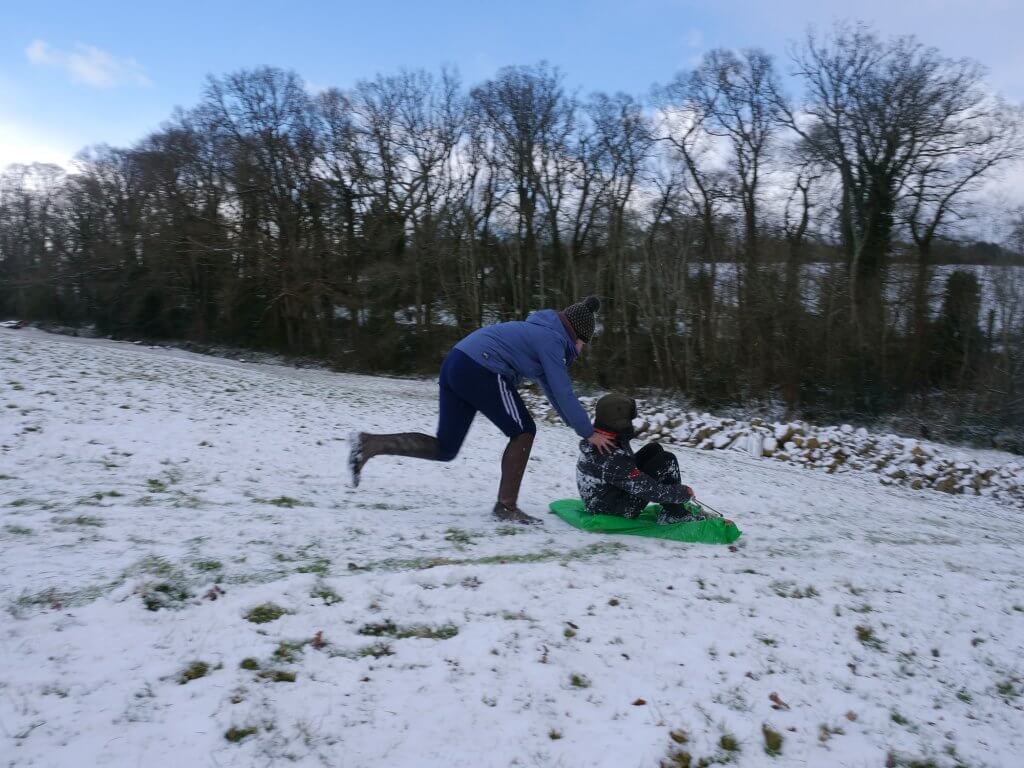
Wait for the beast from the east to work its magic and then go find a hill and sleigh away!
Check out our Hard as Nails podcast:
Like this? You should check these out: