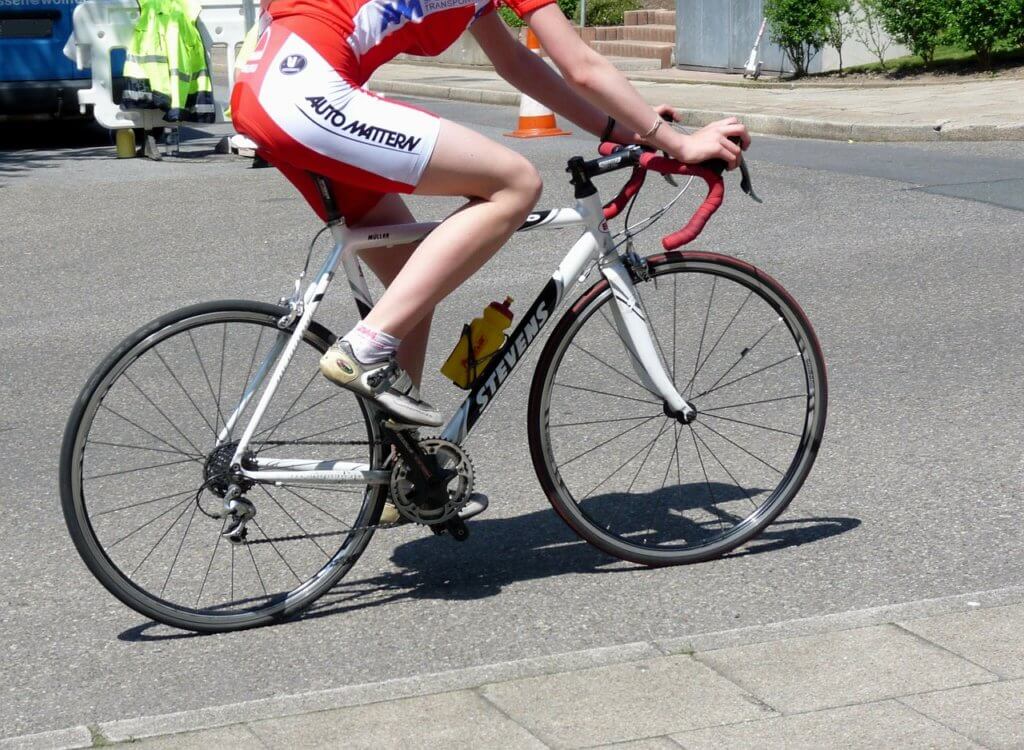
The switch from normal pedals on a bike to clipless pedals is both an exciting transition and one that causes a fair bit of anxiety for a cyclist. There are many reasons for wanting to make the switch, but like any new experience, you have to fall down (literally) a few times before you become an expert.
We all remember the first time we got on a bicycle to finally learn how to ride — the fear of falling off, your anxious voice saying “don’t let go, don’t let go,” and finally, the elation of finding that you can actually ride a bike all by yourself. Well, when a cyclist decides to make the switch from normal pedals to clipless pedals, some of that same fear of the unknown creeps in. There are many reasons why a cyclist would decide to switch from normal to clipless pedals — and the change can increase the speed and efficiency of your ride. Here are a few things to know about clipless pedals, and a few tips on how to conquer them!
What are Clipless Pedals?
Clipless pedals are comprised of specific pedals and cleats that coincide with one another. The cleats bolt to your shoes and then click into the pedals so that you are securely attached to the bike. In order to release your foot from the pedal, you simply swing your heel to the outside of the shoe to free the cleat.
The name “clipless” refers to the older version of a clip-and-strap method to attach your feet to the pedals. The straps would come over the top of your feet, and you would then clip yourself into the shoe with buckles. Although still more effective than a normal rubber petal, the clip-in versions had slight drawbacks that the clipless versions eliminated.
Why Make the Switch?
Clipless pedals increase the efficiency of your stokes astronomically.
1. They keep the balls of the feet securely connected to the centre of the pedal, the optimal position for efficient strokes. This position allows you to engage the largest muscles at work while riding — pulling up with your hamstrings and pushing down with your quadriceps to propel yourself forward. This attachment also makes it easier to apply power on climbs and ascents.
2. Your feet are not attached at all on rubber pedals, and if you want to keep your feet as securely fastened while using a toe clip, you have to tighten the strap considerably, creating uncomfortable pressure points on your foot. Clipless pedals eliminate this problem.
3. On rainy rides, the rubber pedals or toe clips can become slippery, and, either your feet will slip off of the pedal, or, the moisture will make the detachment process much more difficult. However, with clipless, you simply twist your heel to disengage the cleat to climb off the bike.
4. The attachment of your foot to the pedal allows you to effectively use your entire leg instead of isolating small ankle muscles while you’re trying to keep your foot on the pedal. This allows you to ride faster for longer periods of time before fatiguing.
5. With clipless pedals, climbing hills is easier because you are able to evenly distribute the workload between your hamstrings and quadriceps. Plus, clipless pedals allow you to transition off of the saddle on ascents without worrying about slipping off of the pedals.
6. Clipless pedals are more comfortable because they allow your legs to move in a more natural, cyclical motion required from biking. Plus, they are lighter than toe-clips and rubber pedals.
Clipless Pedals: Tips for the Beginner
When switching from normal pedals to clipless cleats, it’s natural for a beginner to get a little shaky. Here are a few tips and tricks to keep you comfortable on the bike until you get the hang of your new, more efficient method of riding.
1. If possible, set up your bike on a stationary trainer and practice clipping in and out of the shoe before you start riding to set up a little bit of muscle memory before you’re forced to clip out at a traffic light.
2. Before you come to a complete stop, unclip one of the shoes and continue to pedal with your shoe disengaged to give yourself a little more time to dismount.
3. Find a soft place to practice clipping in and out, such as a park or football field. First, clip one foot in with one foot still firmly on the ground. Practice clipping in and out multiple times. Once you’ve got the hang of it, start to pedal around a bit and continue practising clipping in and out. If you happen to fall down, it will be on soft grass instead of pavement!
4. It is easier to balance when the bike is going faster. So, before you try to clip in both feet, give the pedals a few good strokes without being clipped in. This will help you balance a bit more before you commit to clipping in.
5. Set the tension screw on the pedal to the easiest setting, as in, make it a bit looser. This will give your foot a bit more movement when you ride, but it will also make it much easier to twist in and out of the clip, ridding yourself of the anxiety around dismounting.
By Bri Doherty
Check out our Hard as Nails podcast:
Like this? Check out these other articles: